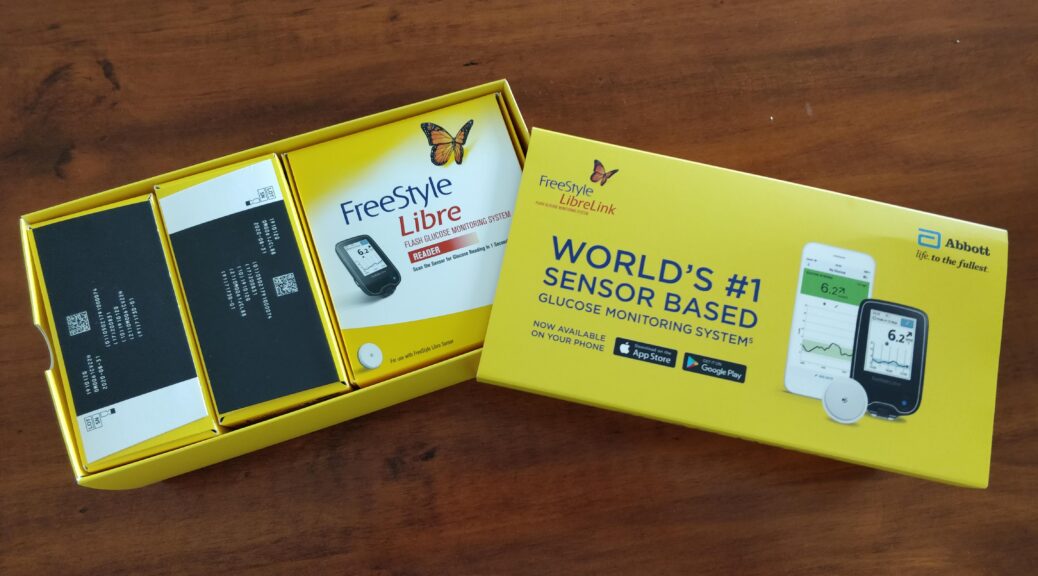
I recently attended a talk by Dr Steven Tucker (@drsteventucker) that got me thinking about body hacking and continuous glucose monitors.
The dialogue that I keep coming back to is:
“Who is this device for?”
“Everyone says ‘diabetics’ but if you need this as a diabetic it’s too late. You need this BEFORE you get diabetes.”
Dr Tucker set us a challenge to try a device out, to see if it would change our lives. And I’ve taken him up on the challenge!
As per the National Center for Biotechnology Information (NCBI), the continuous glucose monitor works through detecting glucose levels in interstitial fluid – the fluid between your cells. For diabetics, this real-time device stops the need for fingerprick (blood) tests and also gives you up to 8 hours of readings so that you get a real view of your day and not a point in time. For my device, it can be worn for 14 days before it needs to be replaced.
I’m clearly using the device outside of the approved indications of Type 1 or Type 2 diabetes so what are my goals?
- Understand my blood glucose profile
- Get a view on how different foods impact me
- Reinforce the value of exercise
- Avoid getting diabetes
Unboxing Abbott FreeStyle Libre Continuous Glucose Monitor
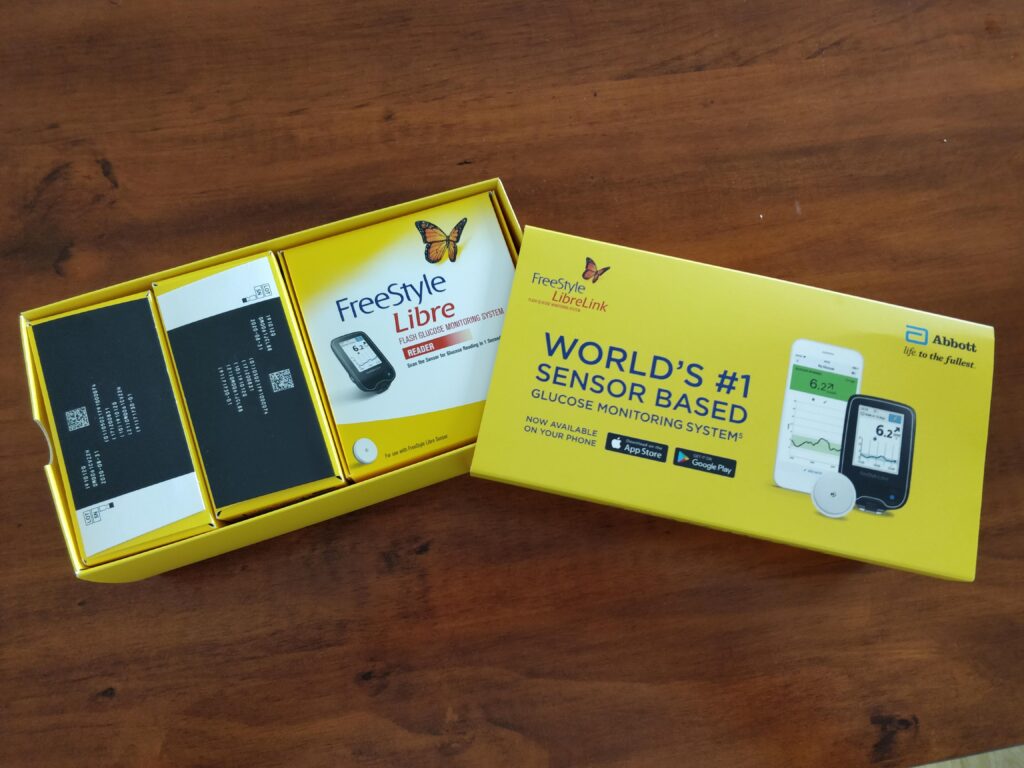
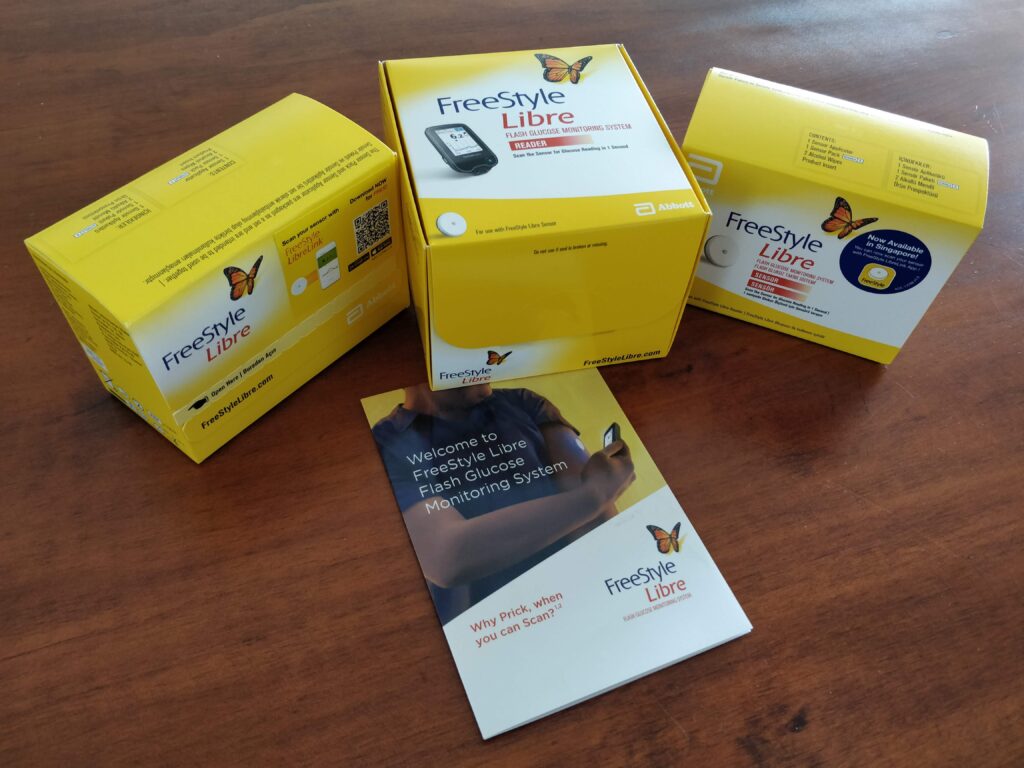
The device that I bought is an Abbott FreeStyle Libre. It’s available in Singapore (for me) and a number of other countries but beware that they are geo-locking the readers and sensors. I purchased the Starter Pack Bundle which comes with a reader and two sensors. It’s not cheap though – SGD$276 to measure 28 days.
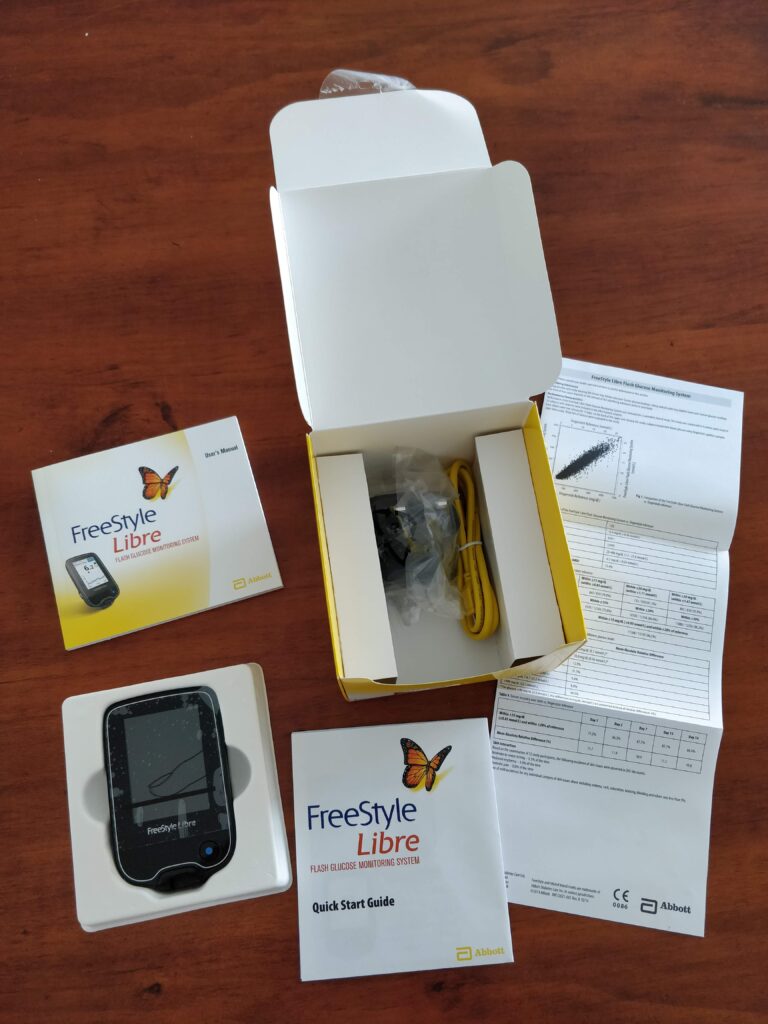
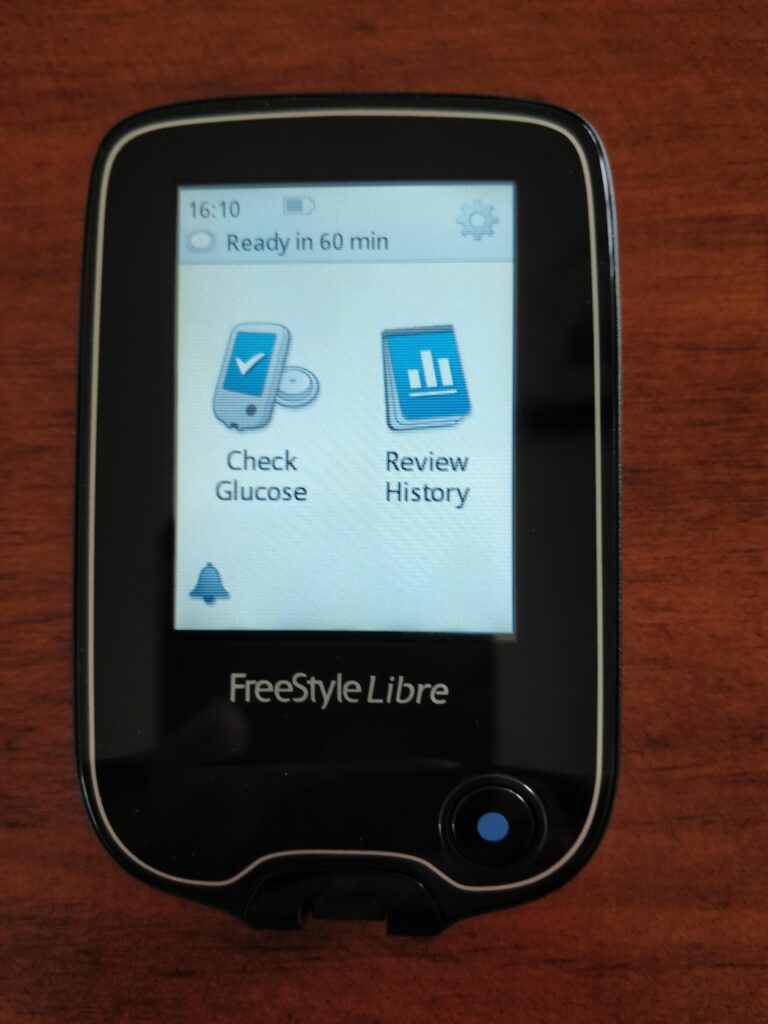
The reader is pretty simple to get going with. It’s quite light so you can carry it around and the interface straightforward with a single button and basic touch screen functionality. It charges with a USB2 cable and also has the capability to analyse a blood ketone levels using a fingerprick test on the approved test strips. (Which I don’t have.)
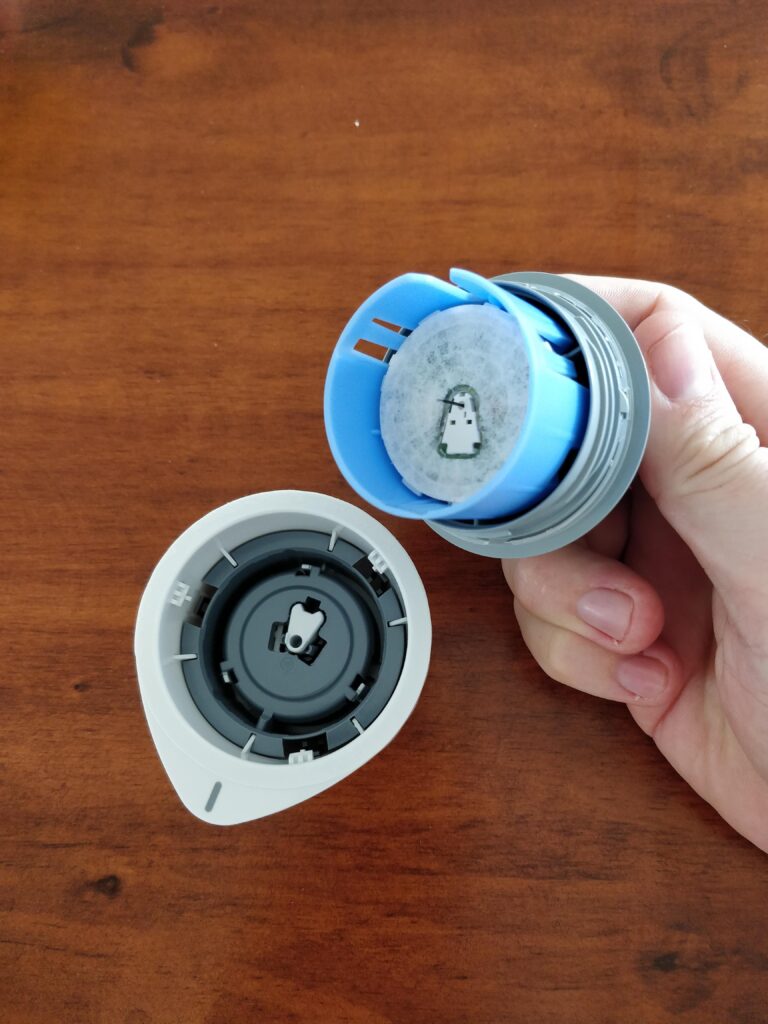
The sensor pack contains two alcohol swabs, an applicator and the sensor. Getting it set up was easy – unscrew the applicator, pull back the seal on the sensor, push the applicator down onto the sensor and you are ready.
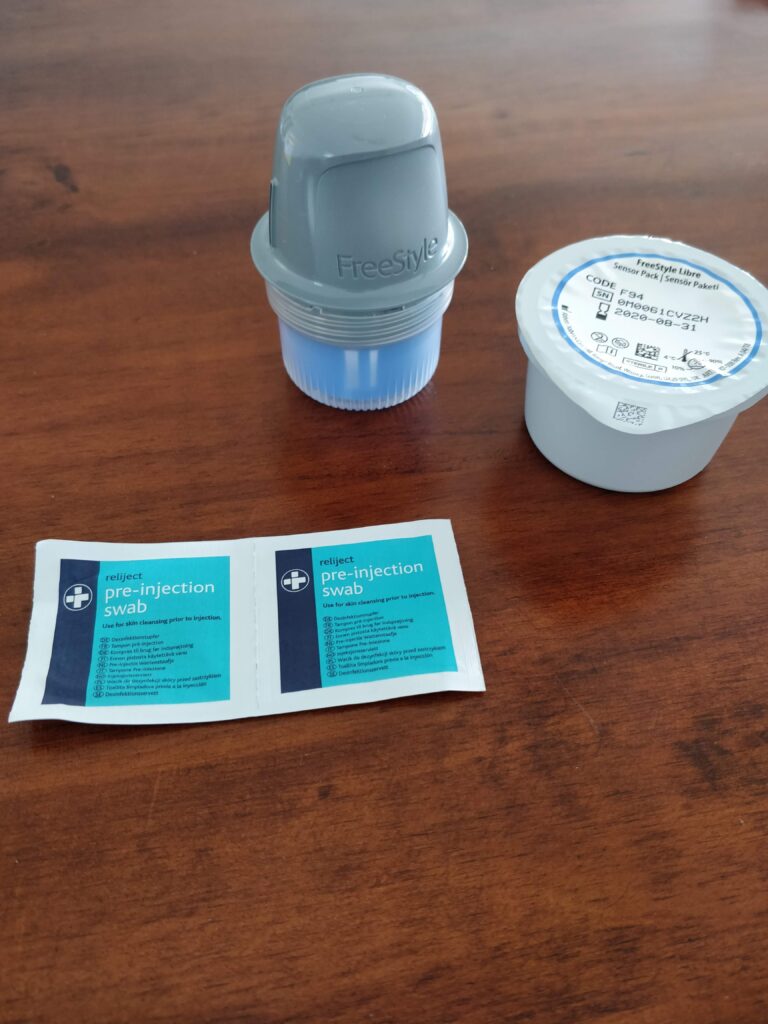
And here it is ready to be loaded onto the back of my arm. To install onto your arm you just position it and press down a little hard. Slowly pulling up leaves the sensor in place.
From there you turn the reader on and scan the sensor for the first time. After some satisfying beeps, the sensor is activated and in an hours time, you can get your first reading. The logic behind the hour is that it takes a while for the sensor to settle and provide accurate readings.
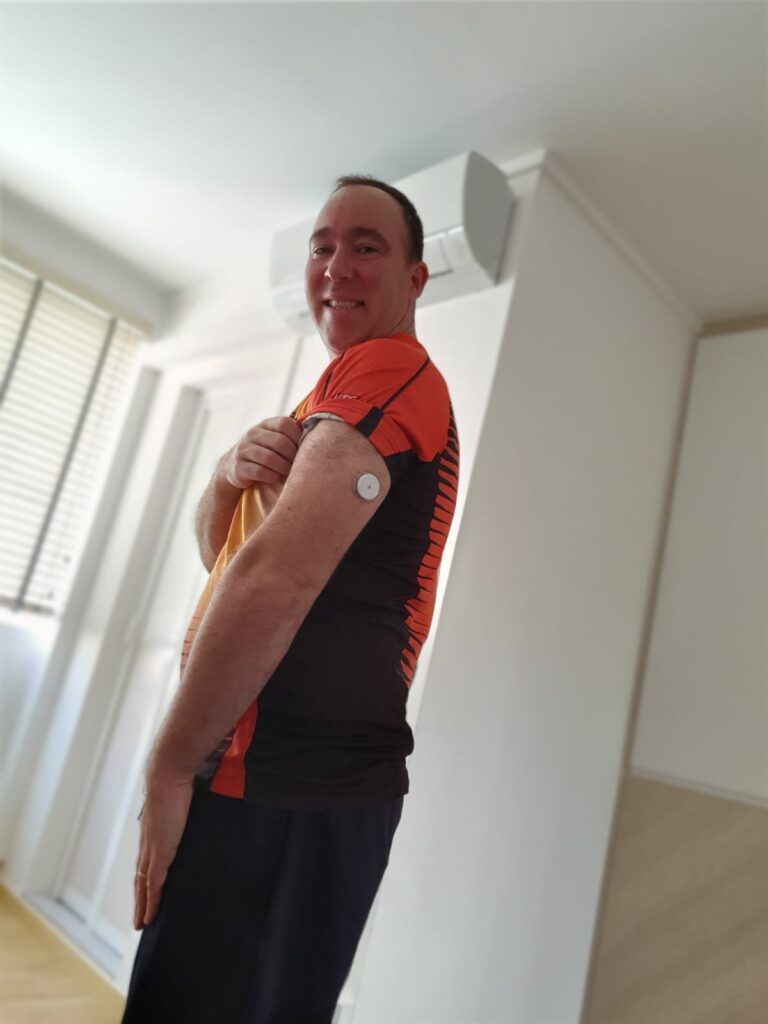
I can’t find a good word that describes what I’ve just done, is it an installation? The back of the arm is a great location as I often forget about the sensor being there despite it being a new part of my body. The reader has no problems working through clothes which is great because it’s mostly covered by my shirt.
One Device to Rule Them All: Mobile Phone
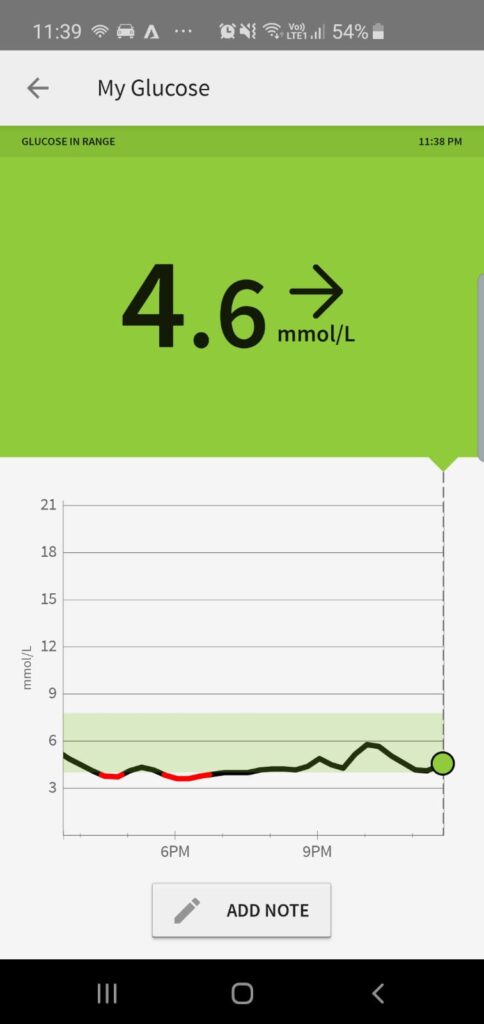
Now the big challenge is really that no one wants to carry around a reader all day. It’s just another device we don’t need. The good news is that there is a matching mobile phone application (LibreLink App) that can read the sensor. The app is available for both Android and iOS. Check on your country for confirmation as I believe there are some country limitations that only allow iOS.
There’s a second application (LibreLinkUp App) to share your results with your friends and family.
And finally, there’s a cloud storage application (LivreView) where you can upload your data and get relevant reports.
What Didn’t Work?
I certainly had a few challenges.
On my first sensor, my values started reading really low. I started at 3.4 mmol/L and progressively went lower to 3.2, 2.9, 2.7 and then LO – beyond the sensors ability to pick up. Theoretically, at that point I should have been passed out on the floor but luckily I still felt great. After a few hours (and some house cleaning) the readings started to come up again with 3.1 and 3.3.
And then I knocked the sensor off going through a door. They certainly aren’t the strongest device. There are no instructions on the package on what to do if you have hairy arms. It’s meant to be rugged enough that you can swim for 30 minutes and have no problems working out but I don’t think they tested the device on someone like me.
For the phone application, you have to enter your country and this is based on your Android account on your phone. Having tried to change my Android country in the past and found it quite difficult I was stuck with a phone saying it couldn’t read the sensor. Frustrating. Luckily my wife’s phone was able to be connected.
Despite being merely a reader I’m finding that there are differences between the phone results and the reader. They’re not huge but it’s a bit concerning.
Continuous Glucose Monitor Summary
The device is fascinating in the information that it can provide about your health. It’s simple to set up and I hope to work through the challenges.
I’ll post again with my findings regarding my health, diet and fitness as I get a full picture over the next two weeks. My wife is also trying to talk me out of buying a Luke Arm so I may also come back with further cyborg abilities.
Disclaimer: Abbott Laboratories are a customer of my employer. Personally I’m in an active sales cycle where I would gain from working further with Abbott. I bought the device with my own money and Abbott had no say over the content of this post.

